三.制作一个简单的文件系统
0 BusyBox简介
什么是Busybox呢?
从名字上直接理解,Busybox是一个“繁忙的盒子”,其实,Busybox可以理解为一个Linux的命令集合,我们在进行Linux操作时所需要的常用命令,都可以在Busybox里找到,但Busybox又不是简单的将所有的命令集合在一起,它采用了一种非常巧妙的方式,即“使用一个程序完成所有的事”。
平时我们用ls、vi等命令,都要用到glibc的相关调用,所以如果每个命令都静态链接这些调用,每个命令都会很大,因此在通常的发行版中,都会动态链接glibc,可是glibc的动态库本身就很大,这在PC+Linux平时上还可以接受,但在嵌入式系统中,这就太大了,而且又不是所有的库函数都使用。
一般采用两种解决办法,一种是裁剪glibc,另一种就是Busybox的办法,即把ls、vi等程序的main函数改一下名,全部链接在一起,然后静态链接glibc,这样,只有需要的调用才会链接进来,整个Busybox程序可能都比glibc的动态库小。
因此,Busybox的工作原理是根据文件名来决定用户想调用的是那个程序,例如,如果你的busybox程序的文件名是ls,运行的就是ls,是vi,就运行vi。
1 获取BusyBox源码
首先我们下载一个busybox 的源码,到网页http://www.busybox.net/downloads/,就可以下载了,这里我下载了busybox-1.13.0.tar.bz2 这个压缩包。这里我们使用的交叉编译器还是4.3.3 的。
2 修改并配置BusyBox
解压busybox,使用命令#tar xvfj busybox-1.13.0.tar.bz2 -C /opt/EmbedSky/。
然后进到源码中,修改Makefile 文件,把164 行修改为:
CROSS_COMPILE = arm-linux-
把189 行修改为:
ARCH = arm
然后输入:#make menuconfig,进入配置单:
(2)
然后配置如下:(下面只列出需要注意的地方;其它未列出的地方,可以采用默认,可以自己添加。)
Busybox Settings --->
General Configuration --->
Buffer allocation policy (Allocate with Malloc) --->
[*] Show verbose applet usage messages
[*] Store applet usage messages in compressed form
[*] Support --install [-s] to install applet links at runtime
[*] Enable locale support (system needs locale for this to work)
[*] Support for --long-options
[*] Use the devpts filesystem for Unix98 PTYs
[*] Support writing pidfiles
[*] Runtime SUID/SGID configuration via /etc/busybox.conf
[*] Suppress warning message if /etc/busybox.conf is not readable
(/proc/self/exe) Path to BusyBox executable
Build Options --->
[*] Build BusyBox as a static binary (no shared libs)
[*] Build with Large File Support (for accessing files > 2 GB)
Installation Options --->
[ ] Don't use /usr
Applets links (as soft-links) --->
(./_install) BusyBox installation prefix
Busybox Library Tuning --->
(6) Minimum password length
(2) MD5: Trade Bytes for Speed
[*] Faster /proc scanning code (+100 bytes)
[*] Command line editing
(1024) Maximum length of input
[*] vi-style line editing commands
(15) History size
[*] History saving
[*] Tab completion
[*] Fancy shell prompts
(4) Copy buffer size, in kilobytes
[*] Use ioctl names rather than hex values in error messages
[*] Support infiniband HW
Linux Module Utilities --->
(/lib/modules) Default directory containing modules
(modules.dep) Default name of modules.dep
[*] insmod
[*] rmmod
[*] lsmod
[*] modprobe
--- Options common to multiple modutils
[ ] Support version 2.2/2.4 Linux kernels
[*] Support tainted module checking with new kernels
[*] Support for module.aliases file
[*] Support for module.symbols fileLinux System Utilities --->
然后退回到根配置单,选择“Save Configuration to an Alternate File”选项,保存刚刚的配置为.config。
注意点::::
(1)Build BusyBox as a static binary (no shared libs)
这个最好选上,因上这样子编译出来的busyBox才是可以独立运行的,否则的话需要将它用到的一些库文件放到文件系统的lib目录中。
(3)Don't use /usr
这样子编译出来的busybox才不会安装到你主机的/usr目录下。一定要选上
(4)Do you want to build BusyBox with a Cross Compiler? │ │
│ │(/HOME/toolchains/gcc-4.0.2-glibc-2.3.5/arm-9tdmi-linux-gnu/bin/arm-9tdmi-linux-gnu│
上面是我的交叉编译器的路径,你要根据你具体的情况来设置。
首先进入菜单Build Options,选择“Do you want to build BusyBox with a Cross Compiler?”选项,并在“Cross Compiler prefix”栏中输入交叉编译器安装的位置,如/usr/local/arm/2.95.3/bin/arm-linux-,注意最后是arm-linux-,不能加其他字符或空格。
然后在“Any extra CFLAGS options for the compiler”栏中输入需要匹配的arm-linux系统源码目录中头文件所在的位置,如“/home/works/linux-2.4.27/include”,然后退出返回主菜单。
再根据系统需要,进入所需命令工具所在的子菜单中,选择相应的命令项。如需要“insmod”命令,就在“Linux Module Utilities”子菜单中选中。
4 编译并安装BusyBox
然后退出配置单,然后编译出busybox 即可,使用命令:#make;make install,编译结束后会在busybox-1.13.0 目录下面生成一个名为“_install”的目录.完成busybox 的编译之后,我们就可以进行文件系统的构建了。
5 把编译busybox生成的二进制文件放在NFS目录,有bin sbin usr和linuxrc
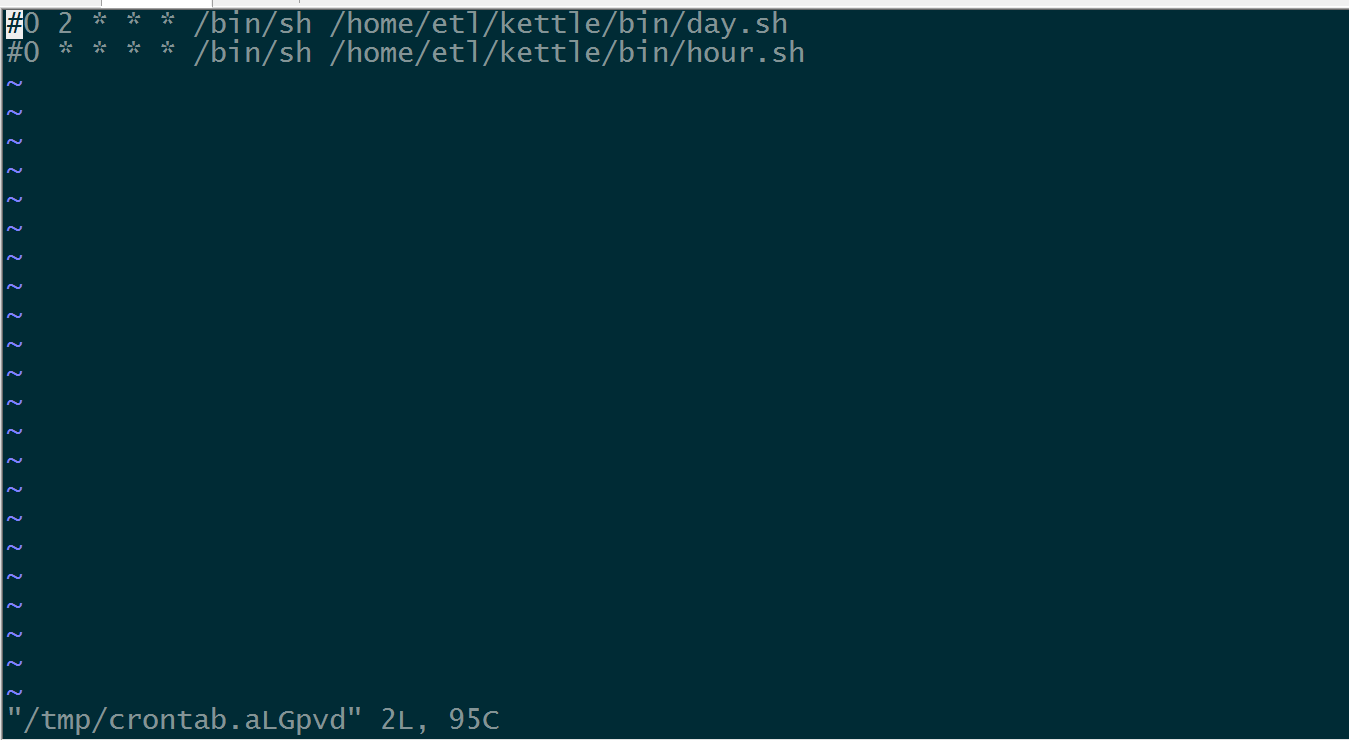
6 创建etc目录,在etc目录新建inittab文件
# /etc/inittab
::sysinit:/etc/init.d/rcS
S3c2410_serial0::askfirst:-/bin/sh
::ctrlaltdel:/sbin/reboot
::shutdown:/bin/umount -a -r
7 新建fstab文件
#/etc/fstab
# device mount-point type options dump fsck order
proc /proc proc defaults 0 0
tmpfs /tmp tmpfs defaults 0 0
8在etc目录下建子目录init.d及init.d目录下rcS文件
mkdir init.d
cd ninit.d
vim rcS内容为
#!/bin/sh
mount -a
保存,退出。
加上可执行属性
sudo chmod +x
==========================
在NFS目录下创建其它目录
mkdir dev tmp proc
=======================
在dev目录下创建必须设备文件
sudo mknod console c 5 1
sudo mknod s3c2410_serial0 c 204 64
sudo mknod null c 1 3
=====================
#mkyaffsimage_2 root_2.6.30.4/ root_2.6.30.4.bin
注意:上面的操作命令直接的空格键,制作针对64MB 的Nand Flash 的文件系统使用:mkyaffsimage_2 软件,制作针对128MB 以上的Nand Flash 的文件系统使用:mkyaffs2image 的软件,该软件在交叉编译器里面已经提供了,安装交叉编译器的同时也就安装了它,在“/usr/local/sbin/”目录下。
然后把制作好的镜像root_2.6.30.4.bin 复制出来,烧写到开发板中,就可以运行了。
启动开发板,
看到
Please press Enter to activate this console.
回车,即可进入shell控制台,
最小系统启动成功。